Best oyster mushroom grow kits in Canada (2026)
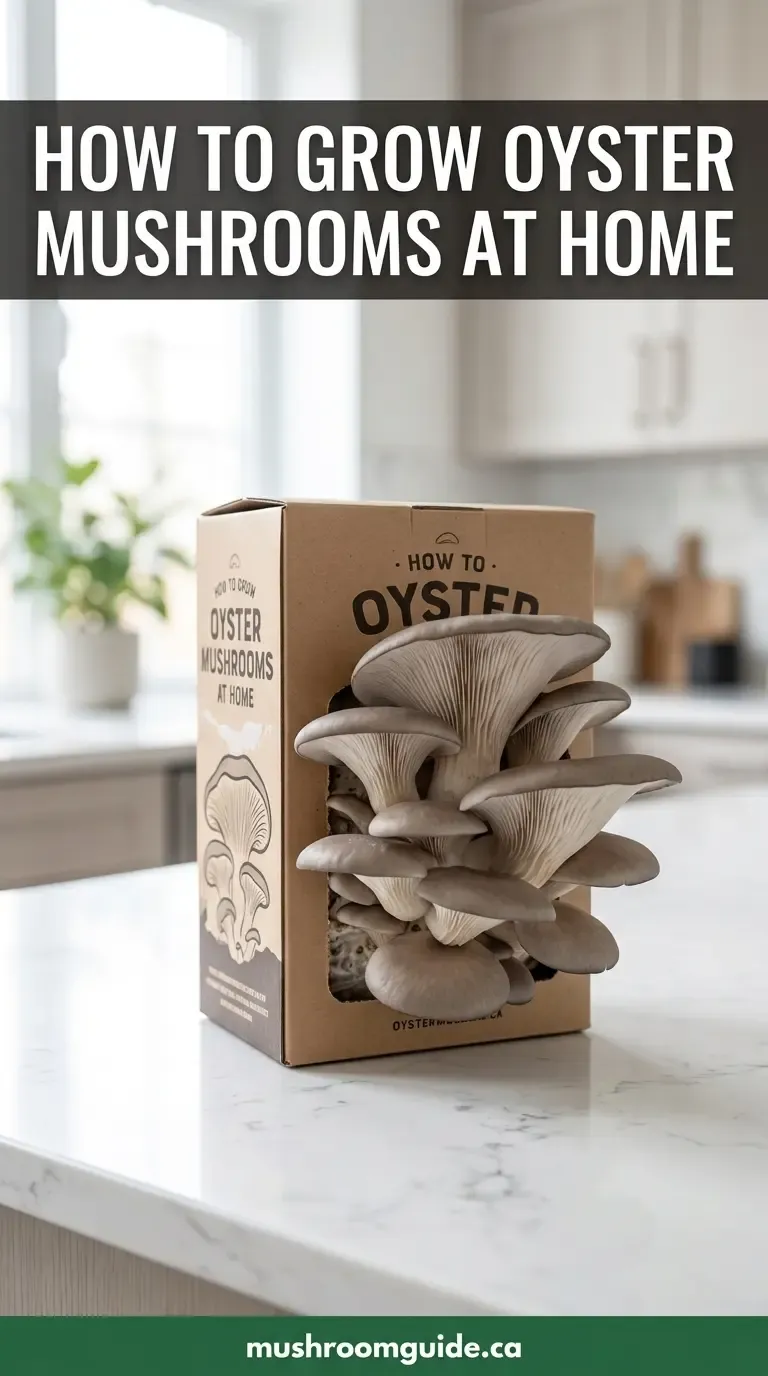
A mushroom grow kit is the cheapest way to find out whether you actually want to grow mushrooms before you commit to spawn, substrate, fruiting chambers, and pressure cookers. For most beginners, it’s the right starting point.
But “best grow kit” articles online are mostly American, mostly affiliate-padded, and mostly recommend kits that either don’t ship to Canada or arrive with $40 in customs and shipping fees that double the price.
This guide is Canada-first. Every kit listed below ships from a Canadian warehouse or is available through Amazon.ca. Prices are real Canadian retail. Honest pros and cons. No medical claims. No “complete guide” filler.
Affiliate disclosure: Some links below are affiliate links — we may earn a small commission on qualifying purchases at no additional cost to you. We only recommend kits we have used, directly inspected, or have strong evidence are reliable. See our full affiliate disclosure.
TL;DR — the matrix
| Kit | Price (CAD) | Best for | Species | Where to buy |
|---|---|---|---|---|
| North Spore Spray & Grow | ~$50–60 | Easiest first experience | Pink, blue, or grey oyster | North Spore (US, ships to CA) |
| Back to the Roots | ~$30–40 | Cheapest beginner option | Grey oyster | Amazon.ca, Canadian Tire, Walmart Canada |
| Sporeworx Bucket Kit | ~$45–65 | Higher yield, Canadian | Grey, blue, or yellow oyster | Sporeworx (Toronto) |
| MycoSupply BC Grow Kit | ~$55–75 | BC residents, local pickup | Grey or pearl oyster | MycoSupply (BC) |
| DIY bucket from spawn | ~$30 total | Best value once you’ve done one | Any oyster species | See our grow guide |
What to look for in a Canadian grow kit
Before the rankings, the criteria — because most “best of” lists never say what “best” means.
1. Yield potential
A good kit produces 0.5–1.5 lb (225–680 g) of fresh mushrooms across 1–2 flushes. Kits with smaller substrate blocks (≤2 lb, ~900 g) will underdeliver. Marketing photos always show a perfect first flush — real-world averages are usually 60–70% of advertised yield.
2. Species choice
Most kits sell grey or pearl oyster (the standard, easiest species). Pink, blue, and yellow oyster kits exist but ship less often. First-time growers should start with grey or pearl — they’re more forgiving of temperature and humidity swings.
3. Canadian shipping
A kit needs to:
- Ship to your address (some US kits don’t ship to BC, NWT, or YT)
- Arrive without freezing damage in winter
- Cost less in shipping + duty than the kit itself
We’ve ranked Canadian-warehoused options higher because freight is cheaper, faster, and the substrate hasn’t sat in a frozen container at the border.
4. Substrate quality
Kits use one of:
- Pasteurized straw block (cheapest, lower yield, easier to handle)
- Sterilized supplemented sawdust (higher yield, more sensitive to contamination)
- Coir + vermiculite + grain spawn (CVG-style, monotub-friendly)
For first-timers, straw or sawdust blocks are simpler than monotub kits.
5. Instructions and support
The good kits include a real instruction card with troubleshooting, not just a QR code that links to a video. Look for kits with email support or a Discord/community.
The kits
1. North Spore “Spray & Grow” oyster kit — best overall ($50–60 CAD)
View on North Spore (US site, ships to Canada)
Why it’s good:
- Real-deal sterilized sawdust block, ~2.5 lb
- Wide species selection — they ship pink, blue, yellow, grey, pearl, king oyster, lion’s mane, chestnut, and more
- Clear printed instructions with troubleshooting
- Active community + email support
- The pink and blue oyster variants are the only easy way to get those species without growing from spawn
Why it’s not perfect:
- Ships from Maine, USA — expect $15–25 USD shipping plus 2–3 weeks transit in winter
- Customs/CBSA can sit on mushroom-spawn shipments occasionally
- “Spray & grow” oversimplifies — you still need to follow real cultivation steps for best yield
Expected yield: 0.7–1.2 lb across two flushes.
Best for: anyone serious about trying multiple species or wanting the pink/blue varieties.
2. Back to the Roots oyster kit — cheapest grocery-store-grade option ($30–40 CAD)
Available at: Amazon.ca, Canadian Tire, Walmart Canada, and many grocery store gift sections
Why it’s good:
- Widely available — buy one in person, no shipping wait
- Sometimes goes on sale to under $25 CAD
- Reasonable instruction quality
- Recyclable packaging
- Genuinely good first kit for kids or as a gift
Why it’s not perfect:
- Small substrate block (~1.5 lb) — yield is modest
- Pearl oyster only — no species variety
- Some Canadian retail copies have sat on shelves at temperatures that affect viability; check the expiry date if you can
- “Spray it 2× a day” technique works but produces lower yield than proper humidity tent setup
Expected yield: 0.3–0.8 lb across one strong flush, sometimes a small second.
Best for: budget-conscious first-time growers, kids’ education projects, anyone who wants to see if growing is for them before spending more.
3. Sporeworx Bucket Kit — best Canadian option ($45–65 CAD)
Available at: Sporeworx (Toronto)
Why it’s good:
- Ships from Toronto — fastest delivery for Ontario, Quebec, and the Maritimes
- Substantial bucket-based design — higher yield than gift-shop kits
- Multiple species options (grey, blue, yellow)
- Active Canadian small business — supports a Canadian supply chain
- Reusable bucket once the substrate is spent
Why it’s not perfect:
- Inventory rotates; specific species not always in stock
- Shipping to western Canada and the Maritimes adds $15–25
- Smaller operation = less consistent customer service than North Spore
Expected yield: 1–2 lb across two flushes.
Best for: Ontario/Quebec residents, anyone who wants to support a Canadian supplier, growers ready for a bucket-method introduction.
4. MycoSupply BC Grow Kit ($55–75 CAD)
Available at: MycoSupply (BC)
Why it’s good:
- BC pickup options (no shipping for greater Vancouver area)
- Pearl oyster and grey oyster kits
- Solid substrate quality
- Genuine Canadian small business
Why it’s not perfect:
- Limited species selection
- BC pickup only is most efficient; shipping outside BC pushes cost up
- Sometimes out of stock for weeks at a time
Expected yield: 0.8–1.5 lb across two flushes.
Best for: BC residents (Vancouver/Victoria/lower mainland) who want the freshest possible kit and direct pickup.
5. DIY bucket from spawn — best value if you’ve done one kit already
Not a kit, but the next step. Once you’ve done one kit and confirmed you actually like cultivating mushrooms, **buying a bag of grain spawn
- a bucket + a bale of straw will cost about $30–40 total** and give you 4–5 buckets of mushrooms. That’s roughly $7 per bucket vs. $50+ for a kit.
We have a full how to grow oyster mushrooms in Canada guide that walks through the bucket method end to end. After your first kit, this is the right move.
The three things every kit gets wrong
1. Humidity is harder than the instructions suggest
Every kit’s instructions tell you to “spray with water 2× daily.” In practice, ambient Canadian winter humidity (20–35% RH from furnace heat) is too dry for healthy oyster fruiting, and 2 sprays a day isn’t enough.
The fix: put the kit inside a clear plastic bag (the kit sometimes comes with one — if not, a 30-gallon clear garbage bag works) with the top loosely twisted, not sealed. This traps humidity. Open the bag once a day to swap fresh air.
2. Light matters more than the instructions say
Kits often say “any indoor location.” In practice, oysters need 12 hours/day of indirect light to trigger fruiting — total darkness produces sparse, malformed clusters.
The fix: put the kit near a window (not in direct sunlight) or under any 6500K LED bulb for 12 hours a day.
3. The “second flush” rarely happens by itself
Most kits hint at a second flush but don’t explain how to trigger it. After the first flush, the substrate has lost ~30–50% of its moisture.
The fix: after harvesting the first flush, submerge the entire substrate block in cold water for 12 hours, then drain and return to fruiting conditions. A second flush typically follows in 10–14 days.
A note on safety
Every grow kit involves some level of spore exposure during harvest. Wear an N95 mask when harvesting, especially with heavy-sporulating species like blue and yellow oyster. Repeated unmasked exposure can cause hypersensitivity pneumonitis (“mushroom worker’s lung”). This is a real, documented condition — not theoretical. See our disclaimer for more on what we do and don’t say.
Bottom line
- First kit, just want to try it: Back to the Roots ($30–40) or Sporeworx bucket ($45–65)
- First kit, want pink/blue/yellow: North Spore Spray & Grow ($50–60)
- First kit, in BC: MycoSupply ($55–75)
- Done one kit and want to keep going: Skip kits entirely and read our Canadian grow guide
The honest framing: grow kits are an excellent on-ramp and a terrible long-term value. Use one to learn the rhythm. Then graduate to spawn
- substrate at a fraction of the cost per pound of mushrooms.
Want to know what to do once you have your kit? How to grow oyster mushrooms in Canada covers troubleshooting, climate notes, and the bucket method. How to cook pink oyster mushrooms and Air fryer oyster mushrooms are the cooking guides for when your first harvest comes in.